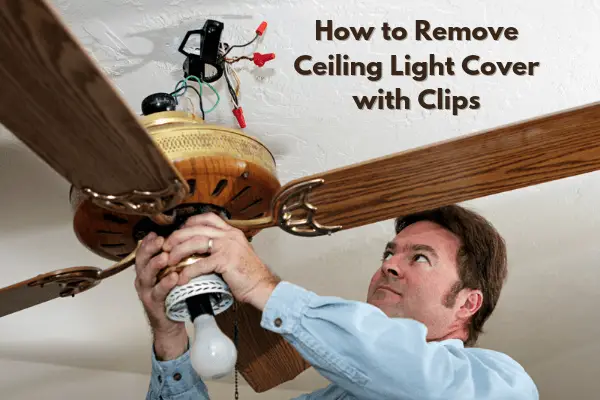
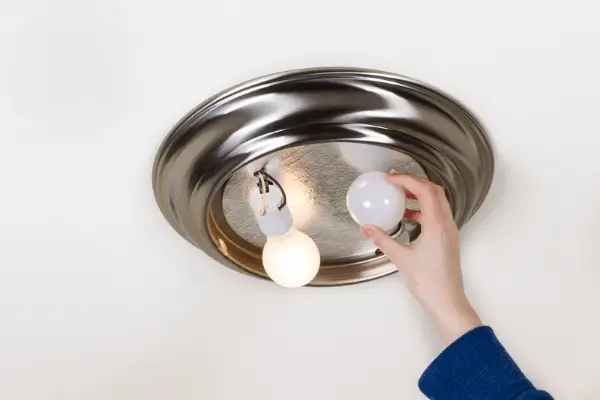
If you are a newbie in your home improvement sector, you might be worried about doing small tasks. Small tasks like removing ceiling light cover with clips will never require too much expertise! If you do it in the right manner, you can do it without the help of any professional!

Here, we have come up with an amazing method of how to remove ceiling light cover with clips without any professional! This is the easiest method you will find, trust us!
So, let us learn how you can execute this process!
Step by Step Guide to Removing Ceiling Light Cover with Clips

Let us begin with the process of removing the ceiling light cover with clips in six easy steps!
Step 1: Stabilizing the Stand
Now that you have already planned to replace the ceiling light cover, first, you have to search for the popular bedroom ceiling lights and choose one. Then, you have to reach the ceiling light. In this case, you will require something that takes you there. As you are going to deal with the ceiling light for quite a few minutes, make sure that the stand you choose for the process is completely stable and doesn’t move at all!
For reaching the light cover, the best thing to pick up is a stepping stool. If you do not find any stepping stool, you can also rely on a self-standing ladder! These are the best options if you want a stable reach to the light cover.
However, at times, we do not have such professional stuff in our house. If you go through this situation, you can also settle on a sturdy chair or a table that gives you stability.
Step 2: Protecting the Hands
When it comes to learning how to remove the ceiling light cover, you must make sure that you are protecting yourself before anything else. This is where the name of gloves comes in this process. Wearing gloves will not only add protective layers to the hands but will also help you with the traction!
It will aid you in removing the glass cover and complete the task! In this case, the mechanic gloves are the best stuff to use. On the other hand, gardening gloves are other options that will fit you just right!
If your light cover is not too rough, you can skip this step too. But we highly recommend you using gloves if the cover is rough or it is unclean and dirty.
Step 3: The Right Grip
After you have completed the preparation part of removing the light cover, you have to start working with the cover. In this case, this step can be highly complicated if you are a newbie. So, be careful and try to be perfect when you do it. Here, you must unscrew the knob.
But before you get your hands on the unscrewing procedure, you have to hold the glass carefully. Yes, we are talking about the glass cover. First, holding it with your firm yet gentle hands is necessary. If you do not hold it properly, there will be situations when the glass cover will fall down without any notice!
And if it falls from the ceiling, it will surely hit the floor and damage your property. There are times when the glass cover might fall down on you resulting in severe accidents. So, holding it before you start the next steps is crucial.
Step 4: Unscrewing the Knob
As you have held the glass cover with one hand, now, you must start working with the other hand and help in removing the ceiling light cover. With the other hand, all you have to do is unscrew the knob.
Yes, we are not telling you that the process is easy but if you try a few times, you will learn it without any delay. If you are right-handed, you have to hold the glass with your left hand. And then, the unscrewing procedure should be done with your right hand in this situation. On the contrary, if you are a lefty, the unscrewing should be done with the left hand as this hand is stronger than the other one.
And for holding the glass cover, you can use your right hand. Here, you must certify that you are unscrewing the knob with your stronger hand because this step will require a bit of energy. Keep the tougher work for the energetic hands and that’s all!
Step 5: Check for the Washer
So, now you have worked with the knob properly. When you see that the knob is completely free, you have to step forward to get the washer. The knob that is holding the glass in its right place might be added with a washer underneath. All you have to do is search for the washer.
Go through the part that is underneath the knob. In some models, there might not be any washer too. This completely depends on the brand or model you are using, this will vary accordingly. To understand if there is a washer or not, you must check the knob when you are unscrewing it. Usually, the knob will be loosened by the previous step.
But even after going through the process, if you see that the knob is not coming off, you must understand that there is a washer that is holding the light’s glass in the right place. Check the underneath portion and then start removing the washer carefully!
Step 6: Take off the Glass Cover
So, when you are finished unscrewing the knob and removing the washer, you are free to go through the glass cover and remove it! For this, you only need to pull the glass cover of your light off the ceiling mount.
This might be a little too easy for you! Do not pressurize or pull it hard when you are removing it. After taking off the knob and washer, you will surely see that the glass cover is already coming off! You are done!
That’s what you wanted to do! When you have removed the glass cover carefully, you are free to replace the light bulbs in the position of the last one. Also, if you plan for cleaning out the glass of your ceiling light, you can do it in this method too!
Wrap Up
You have already learned how you can remove a ceiling light cover with clips. Now, all you need is a bit of practice! Try it at home without any professional and you will be mesmerized by how it works!
